How to Grow Your Email List with Gated Content in Webflow
Gated content such as e-books, whitepapers, long-form guides, and exclusive reports are a great way to offer value to your prospective clients and capture their contact details for ongoing communications. Not only are you attracting more leads, but you're also positioning yourself as an authority in the industry. An authoritative voice who is supporting their clients by addressing their pain points.
You're in a great position if you're a marketing team that has a Webflow site because the low-code/no-code nature of Webflow gives marketing teams the power to create and implement lead magnets independently, without relying on developer support. We're going to create something very simple but effective. Here’s the idea:
The visitor will fill in their name and email. Once they click the submit button, a new button will appear, allowing them to access the PDF resource. They click on the button, it opens in a new tab. Their details are then passed into the mailing list for future correspondence. This is all very easy to set up and no coding experience is necessary.
Step 1: Plan Your Gated Content
Start by deciding what type of gated content will resonate most with your audience. In my experience, resources like e-books, white papers, long-form guides, or reports tend to perform better than generic offerings. Think about the questions your clients often ask and create something that directly addresses those pain points.
For example, when I worked on a similar project, the client’s audience frequently searched for guidance on best practices in their field. We created a tailored PDF guide that answered these questions and saw a noticeable uptick in engagement.
Step 2: Create Your Resource and Upload It
Once you’ve created your resource whether it’s an e-book, white paper, long-form guide, or report, upload it to your Webflow site. To do this:
- Make sure you've compressed your PDF using a tool like smallpdf.com to get the file size is as small as possible.
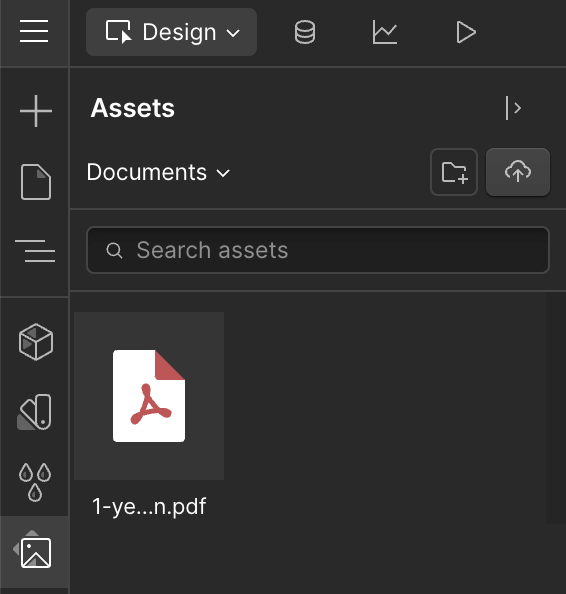
- Go to the “Assets” panel in Webflow.
- Click “Upload” and select your PDF.
- Note the URL of the uploaded file, as you’ll need it for the final step.
Step 3: Design the Lead Magnet Form
Designing the form is simple:
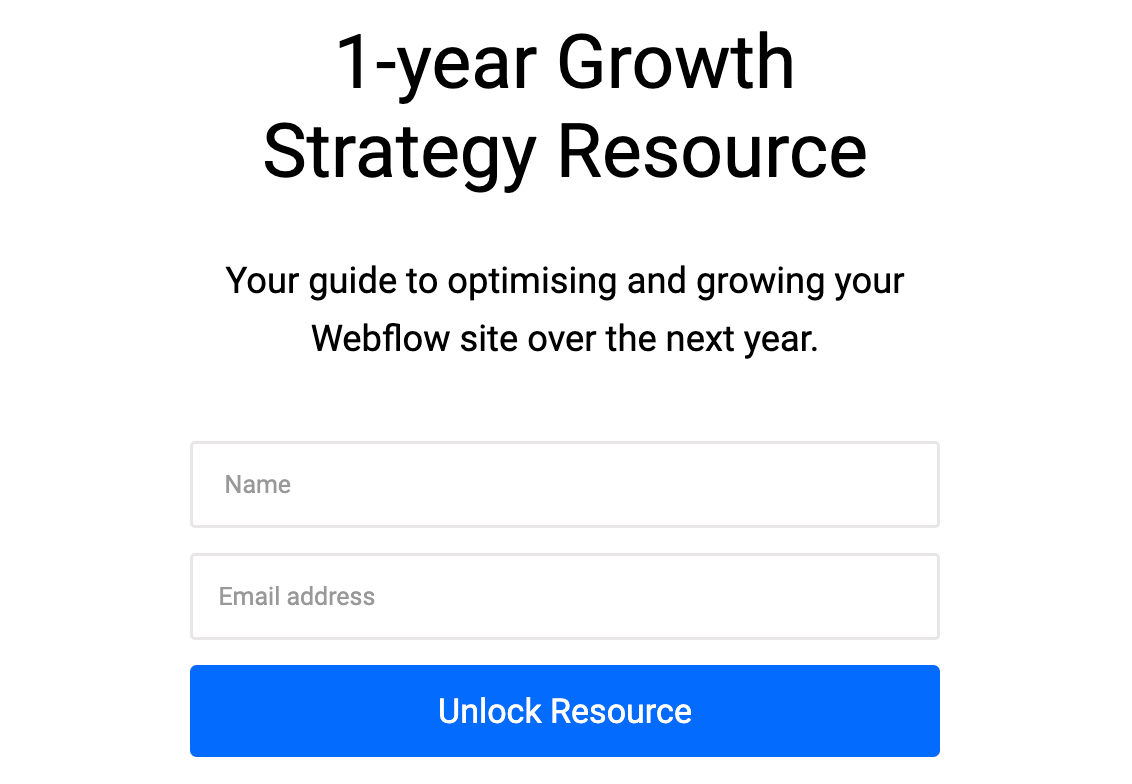
- Add a new “Form Block” to your page.
- Include fields for the user’s name and email address. You can customise the placeholders to match your brand voice, such as “Enter your email to get the guide.”
- Style the form to ensure it aligns with your website’s aesthetics. If you've already got a form on your website, you might want to use the classes from this for the labels, fields and buttons.
Step 4: Set Up the PDF Access Button
Here’s how to make the download button appear only after the form is submitted.
- Click on the form element.
- Open the settings tab on the right-hand side of the page.
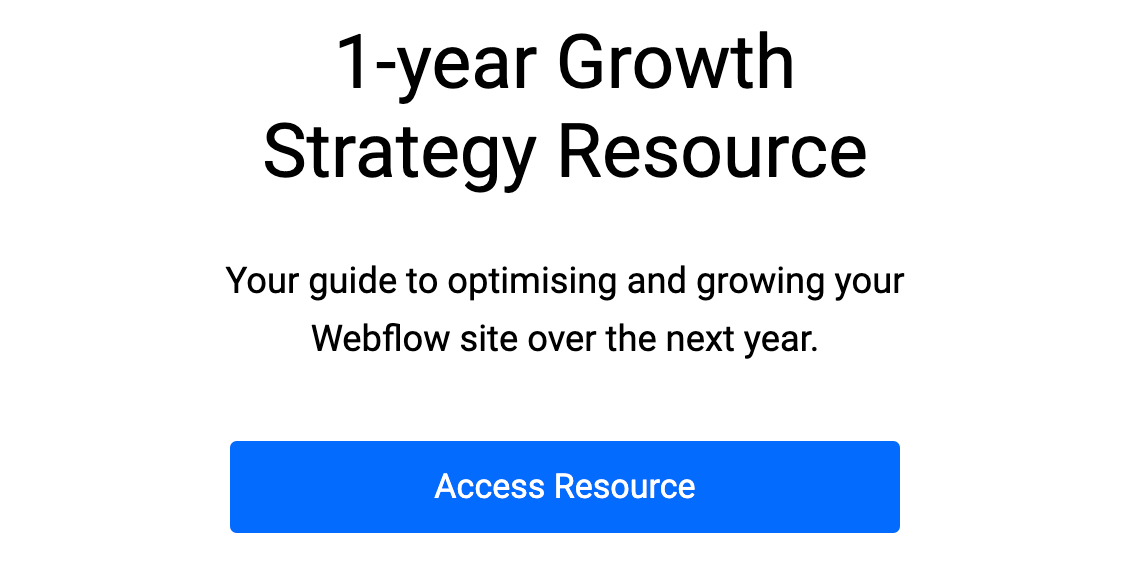
- Change the form state from "Normal" to "Success" to view the success message.
- Add the button element to the "Success Message" element in the form.
- Link the button to the PDF URL you saved earlier.
- Set the button to open the PDF in a new tab

Step 5: Integrate with Your Mailing List
Capturing the user’s details is only part of the process. You’ll want to integrate this data into your mailing list for follow-ups.
- Connect your Webflow form to a tool like Zapier.
- Use Zapier to send the form submissions to your preferred email marketing platform, such as Mailchimp or HubSpot.
- Test the integration to ensure all submissions are correctly captured.
Step 6: Test and Optimise
Before launching your lead magnet, test every step of the process:
- Ensure the form submits correctly.
- Verify the button appears and links to the right PDF.
- Check that contact details are being added to your mailing list.
Once it’s live, monitor its performance. Tools like Google Analytics can help you track conversions. In my experience, tweaking small elements, like the form copy or button colour, can have a surprising impact on performance.
In Summary
Implementing a gated content lead magnet in Webflow doesn’t need to be complicated. With a clear plan and a little creativity, you can create a powerful tool to generate leads and showcase your expertise. Remember, it’s not just about capturing email addresses. It’s about providing real value to your audience.
Got a project in mind?
If you are planning a new website or feel your current one is holding you back, I’d be happy to talk it through. Whether you are an architecture practice, consultancy or finance firm, we can explore what you need your site to do, how it should support your clients and what a realistic project might look like for your team.